Understanding Drywall Painting Basics
Drywall painting is more than just applying a fresh coat of color to your walls; it’s an essential process that involves proper preparation and techniques to ensure durability and a professional finish. In the realm of home improvement, mastering drywall painting is crucial for anyone looking to enhance their space aesthetically and functionally. This comprehensive guide will explore everything from the fundamental concepts of drywall painting to the best practices that will transform your walls into a masterpiece.
What is Drywall Painting?
Drywall painting refers to the process of applying paint to drywall surfaces, typically interior walls and ceilings. Drywall itself is made from gypsum plaster sandwiched between protective panels that are usually made of paper. Once the drywall is installed, it’s often treated with a joint compound and then sanded to achieve a smooth finish before painting. Proper painting techniques not only add color to a room but also protect the drywall from moisture and wear.
Advantages of Proper Drywall Painting
There are several advantages to correctly painting drywall:
- Aesthetic Appeal: A well-painted drywall enhances the visual interest of indoor spaces, making them feel more inviting and complete.
- Durability: A good quality paint protects the drywall underneath from wear, tear, and moisture damage.
- Improved Air Quality: Certain types of paints can help reduce indoor air pollution and improve air quality by minimizing the release of volatile organic compounds (VOCs).
- Enhanced Resale Value: Freshly painted walls can significantly increase a property’s resale value as buyers are often attracted to well-maintained homes.
Common Misconceptions About Drywall Painting
Many homeowners believe they can simply apply paint to drywall without proper preparation. Some common misconceptions include:
- Painting can be done without a primer: Primer is essential for sealing porous surfaces and ensuring smooth paint adhesion.
- All paint types are suitable for drywall: Not all paints work well on drywall surfaces; latex paints are often recommended for interiors.
- Skipping surface preparation saves time: Neglecting to clean and smoothen drywall may lead to uneven finishes and increased touch-up work later.
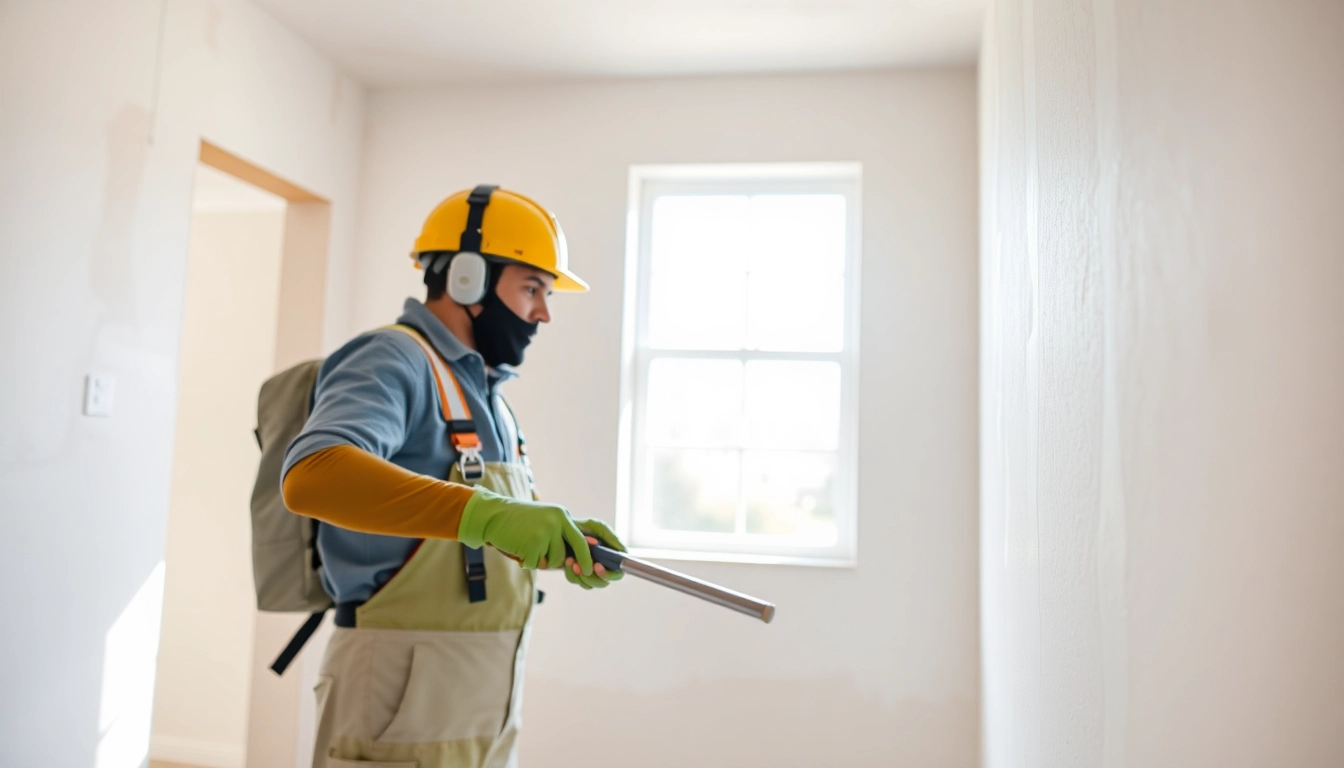
Essential Tools and Materials for Drywall Painting
Must-Have Tools for Effective Drywall Painting
To ensure a successful drywall painting project, having the right tools is crucial. Here’s a checklist of essential items:
- Paint rollers: Perfect for applying paint over large areas quickly.
- Brushes: Useful for detail work and corners that rollers cannot reach.
- Paint trays: Helpful for distributing paint evenly on rollers.
- Drop cloths: Protect floors and furniture from paint splatters and spills.
- Masking tape: Ideal for creating clean lines around edges and for protecting surfaces from unwanted paint.
- Ladders: Necessary for reaching high ceilings and upper wall sections.
- Sanding block or sponge: For smoothing rough patches before painting.
Choosing the Right Paint and Primer
Choosing the appropriate paint and primer is pivotal for both appearance and longevity. Here are factors to consider:
- Type of paint: Acrylic and latex paints are widely favored for their adhesion and ease of cleaning.
- Finish type: Consider the finish that fits the room’s function: flat for ceilings, eggshell for living areas, and semi-gloss for high-moisture areas like bathrooms.
- Quality of primer: A good quality primer is essential, particularly on unpainted drywall, as it ensures even paint application and reduces the number of paint coats required.
Preparing Materials: A Pre-Paint Checklist
Preparation is key to a successful drywall painting job. Use the following checklist to ensure you’re ready:
- Inspect the drywall for damages and imperfections that require repair.
- Gather all tools and materials before you start painting.
- Ensure the workspace is clean and free from debris.
- Cover furniture and flooring with drop cloths and tape edges that need protection.
- Have a plan in place regarding the order of painting different walls and surfaces.
Step-by-Step Guide to Preparing Drywall for Painting
Cleaning and Smoothing the Drywall Surface
Before painting, it’s essential to clean and prepare the drywall surface:
- Dust and vacuum: Remove dust using a vacuum with a brush attachment or a damp cloth to ensure no debris interferes with paint adhesion.
- Repair damaged areas: Fill any holes or imperfections with a joint compound. Once dry, sand these areas flush with the surface.
- Final inspection: Check for any remaining spots that may need sanding or filling before priming.
Applying Primer for Optimal Adhesion
Applying primer is vital in ensuring the paint adheres properly to the drywall and masks imperfections:
- Select a high-quality PVA (polyvinyl acetate) primer for best results on new drywall.
- Using a roller, apply primer in smooth, even strokes, and ensure to cover all areas.
- Allow the primer to dry according to the manufacturer’s instructions before applying paint.
Techniques for Filling Gaps and Imperfections
Filling gaps and imperfections is essential to ensure a professional finish:
- Use a flexible putty knife to apply joint compound over seams and imperfections.
- Feather the edges to blend the repair seamlessly into the surrounding drywall.
- Once dry, sand the area flat for a uniform surface before priming.
Best Practices for Professional Drywall Painting
Techniques for Even Application of Paint
To achieve an even application, consider these professional techniques:
- Mix your paint: Stir paint thoroughly before and during use to ensure uniform color and consistency.
- Use a roller for large areas: Roll paint in long, even strokes, and work in sections to maintain a wet edge.
- Backbrush after rolling: Use a brush to go back over rolled sections for improved adhesion and finish.
Choosing the Right Finish for Different Rooms
Different areas in your home may require different paint finishes:
- Flat finish: Ideal for ceilings and low-traffic areas due to its ability to hide imperfections.
- Eggshell finish: Suitable for living areas and bedrooms, providing a soft sheen that is easy to clean.
- Gloss or semi-gloss finishes: Best for high-moisture areas such as kitchens and bathrooms, as they resist mildew and are easy to wash.
Tips for Clean Edges and Preventing Overspray
Maintaining clean edges can be challenging but is essential for a polished look:
- Use painter’s tape: Tape edges meticulously to create crisp lines and prevent paint from bleeding onto adjacent surfaces.
- Apply paint carefully: Use a brush for edges and corners, gradually tapering off as you approach the tape.
- Remove tape while paint is wet: This helps prevent the tape from peeling off dried paint, which can cause an uneven edge.
Common Challenges in Drywall Painting and Solutions
Dealing with Peeling or Flaking Paint
Peeling paint is a common issue that can arise from poor adhesion or moisture:
- If you notice flaking, remove the peeling sections back to the drywall.
- Repair the area with a joint compound and re-prime before repainting.
- Ensure your primer is appropriate for the drywall and that moisture levels in the room are managed appropriately.
Solutions for Uneven Paint Application
Uneven paint application can detract from the overall finish:
- Ensure the paint is mixed well to avoid developing different shades during application.
- Apply multiple thin coats rather than one thick coat, allowing each layer to dry thoroughly.
- When using rollers, don’t overload them with paint to prevent drips and uneven patterns.
How to Fix Mistakes during Drywall Painting
Mistakes happen, and knowing how to address them can save time and effort:
- If you notice a drip or smudge, smooth it out as soon as it’s noticed while the paint is still wet.
- For dried errors, sand the area down, apply primer, and repaint using the techniques discussed for an even finish.
- If there are color issues, carefully roll over the affected area using the same color paint, feathering the edges to ensure consistency.
By understanding and mastering the intricacies of drywall painting, you will not only enhance the overall aesthetic of your living spaces but also protect your investment. Proper preparation, the right materials, and expert techniques are essential for achieving professional results. With the guidance provided in this article, you can take on your drywall painting projects with confidence and skill, leading to breathtaking transformations in your home.